Time: 45 minutes
Price: $17.77
Level: Easy
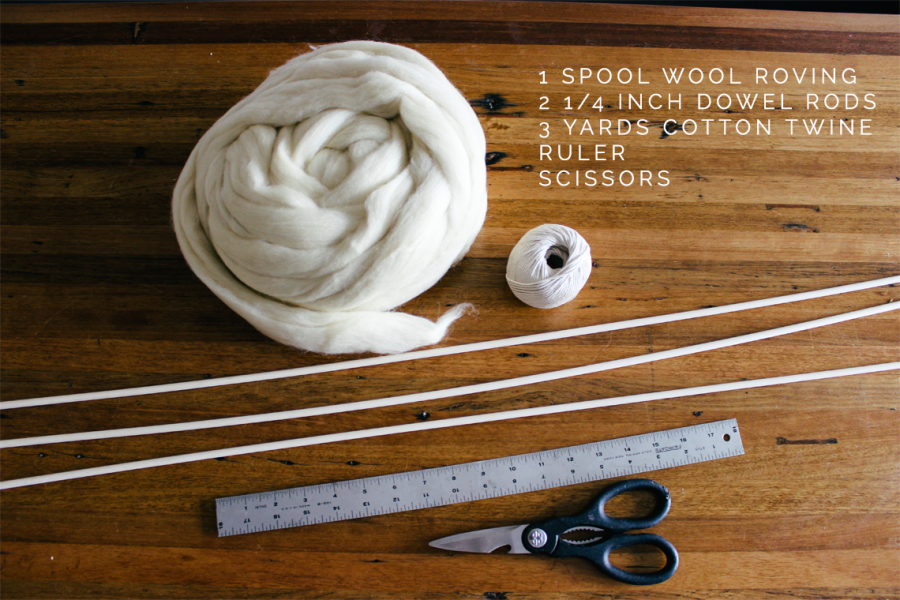
Supplies:
1 spool undyed wool roving ($13.35 w/ code COPYCATCHIC)
2 ¼-inch dowel rods ($0.41 each)
3 yards cotton twine ($3.60)
Ruler or yardstick
Scissors
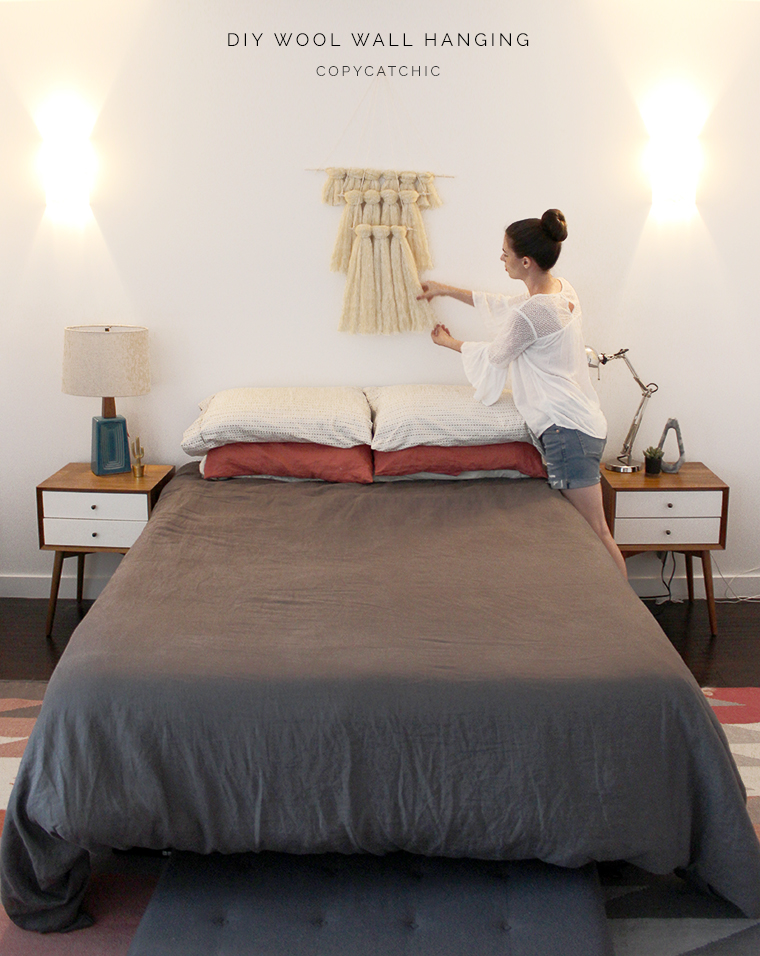
I’ve always admired this wool wall hanging in my friend’s apartment. She has the greatest taste and I was sure it cost a fortune … but it turns out she made it herself! I don’t consider myself super crafty but my friend Amanda ensured me that if she could make it, anyone could make it, so on a rainy Sunday afternoon I headed over to her place to give the project a try.
The spool of wool roving is more than enough for 2 wall hangings so it’s the perfect project to do with a friend. I choose undyed because I liked the natural look, but you can also choose a color (or a few!) if that’s more your style. My local crafting stores didn’t carry wool roving so I ordered it from Etsy shop FiberFeltnMore. The shop owner, Anna, was so sweet to offer our readers 5% off all orders with code COPYCATCHIC. I picked up the dowel rods at Home Depot and already had cotton twine lying around at home, but that can be found at Amazon or probably any craft store.
Overall this project was much easier than I anticipated. It’s helpful if you make your cuts as straight as possible so that you don’t go crazy trying to even out the layers later (or is that just the perfectionist in me!?). Be prepared for a lot of shedding as you work, but once it’s made and hanging, that should stop. At under $20 this project is well worth flexing your creative muscles!
If you give this project a try, be sure to share the photo with us in the comments or tag @copycatchic. I can’t wait to see how yours turns out!
Directions:
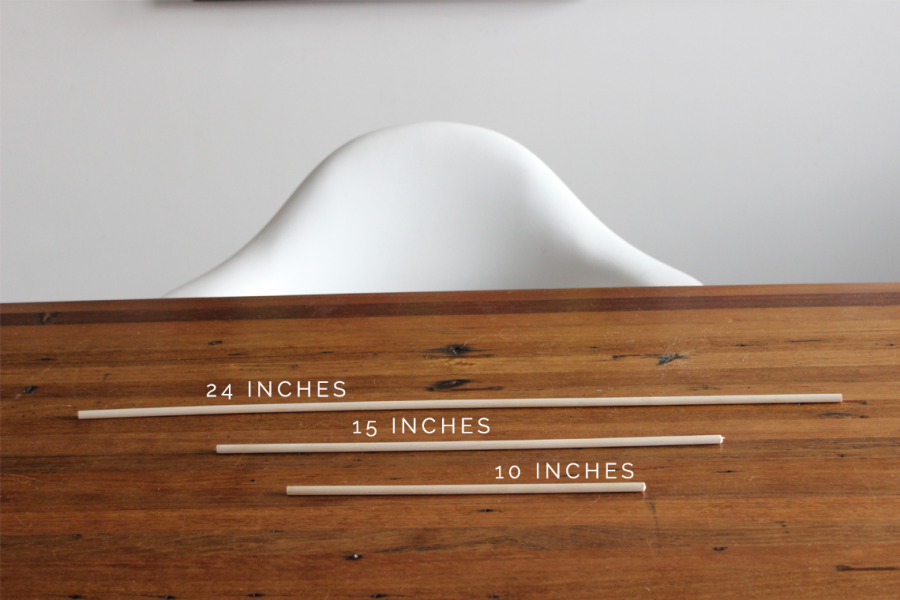
1 | Cut your dowel rods down to size.
Use scissors (or a handsaw if you have one) to cut the dowel rods into 3 lengths:
24 inches
15 inches
10 inches
I wasn’t sure scissors could get the job done but after a few seconds of scouring, the dowel rods easily snapped! You may want to sand down the ends if they are rough.
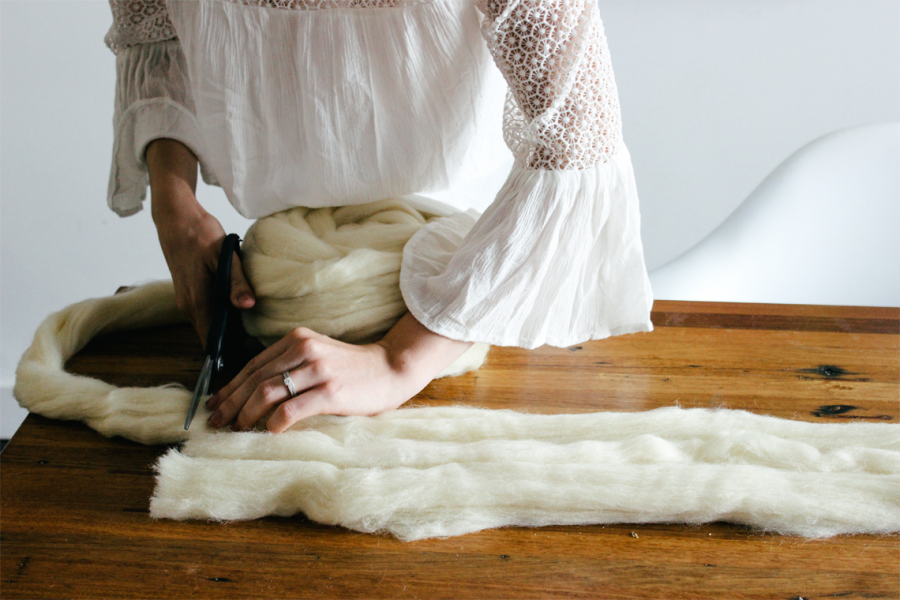
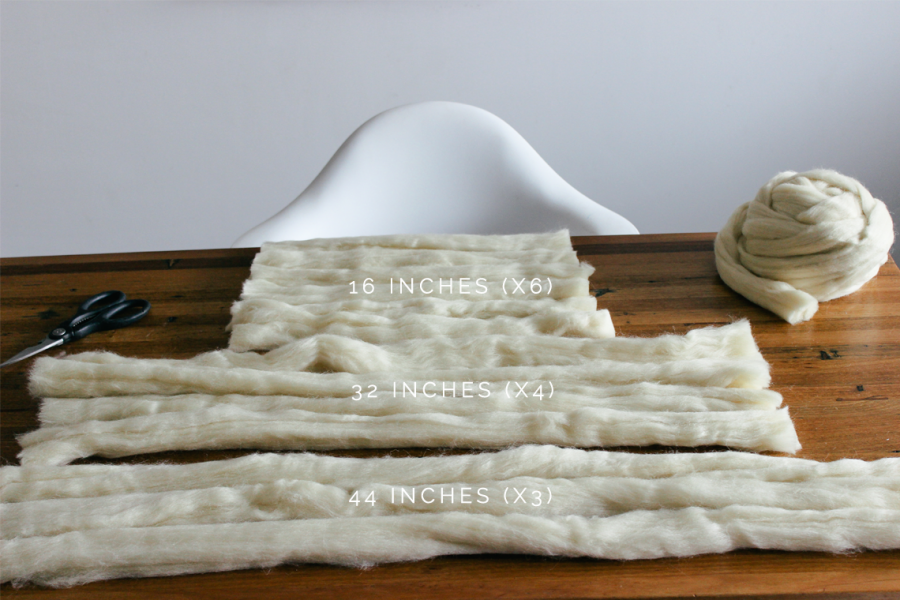
2 | Cut your wool down to size.
Cut 44 inches of wool (x3)
Cut 32 inches of wool (x4)
Cut 16 inches of wool (x6)
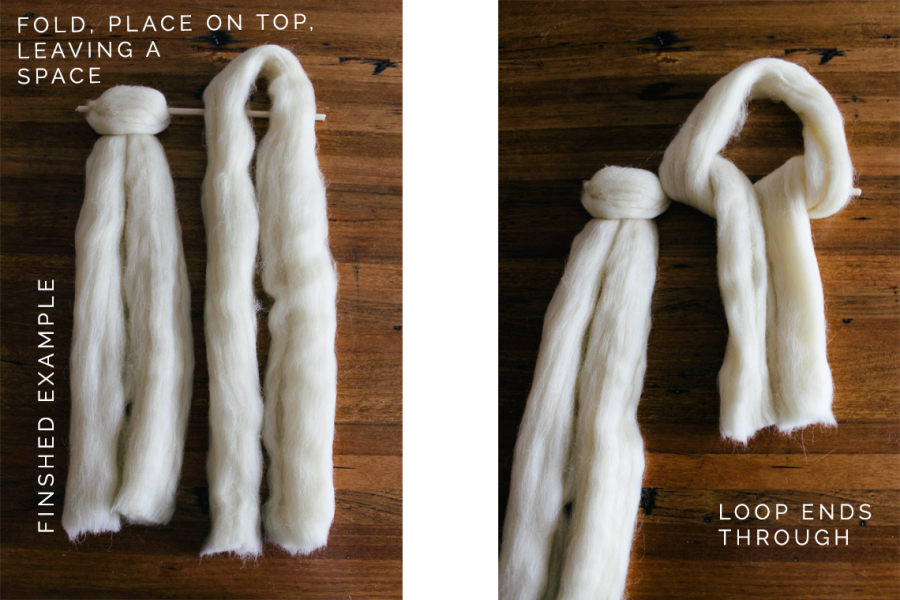
3 | Attach the longest wool (44 inches) onto the shortest dowel rod (10 inches).
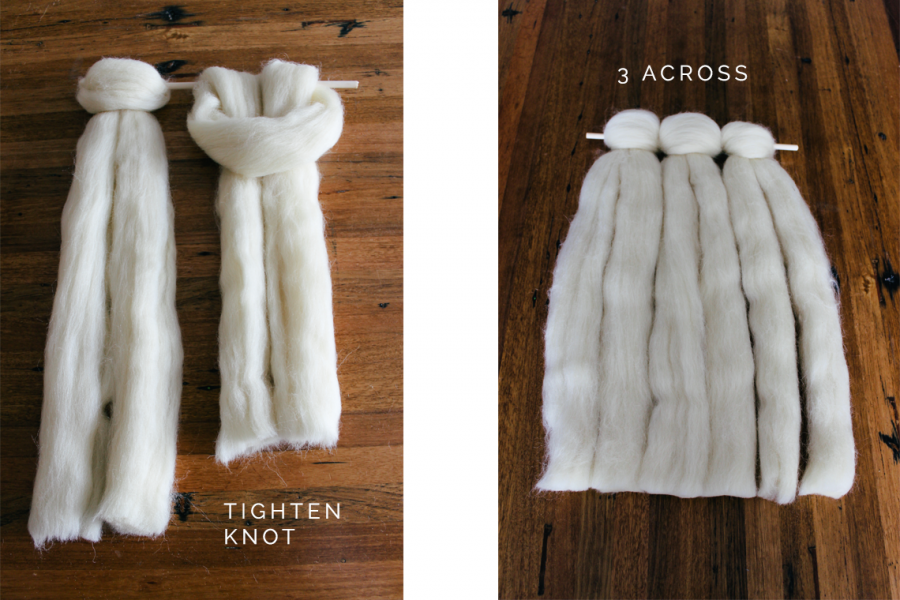
Working one at a time, fold a piece of the 44 inch wool in half and place it on top of the 10 inch rod, leaving a little space at the top. Loop the bottom of the wool through the space you left at the top, creating a loose knot around the rod. Tighten and fluff the knot.
Add the remaining 44 inch wools to the 10 inch dowel rod until it has 3 across.
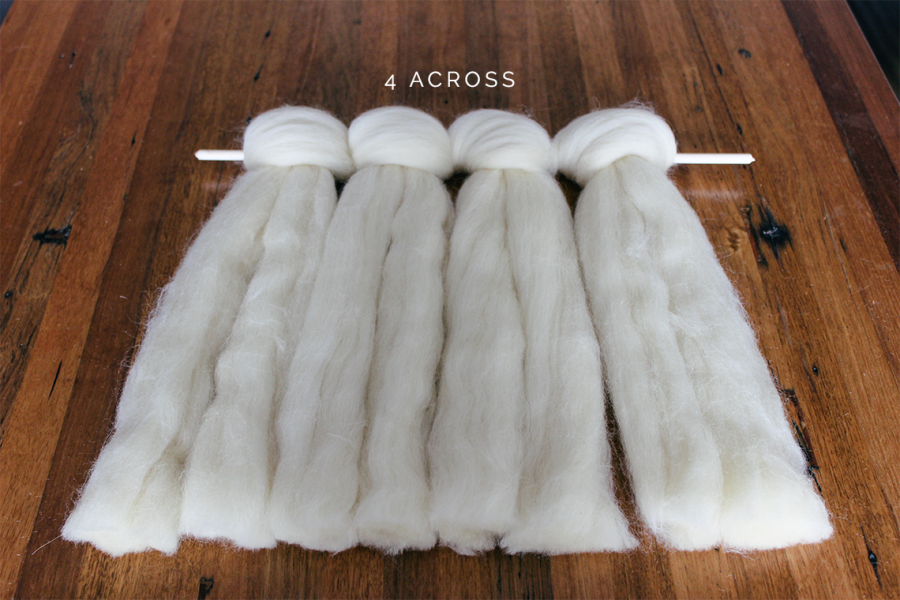
4 | Attach the medium wool (32 inches) onto the medium dowel rod (15 inches).
Using the same process as step 3, knot the wool until there are 4 across.
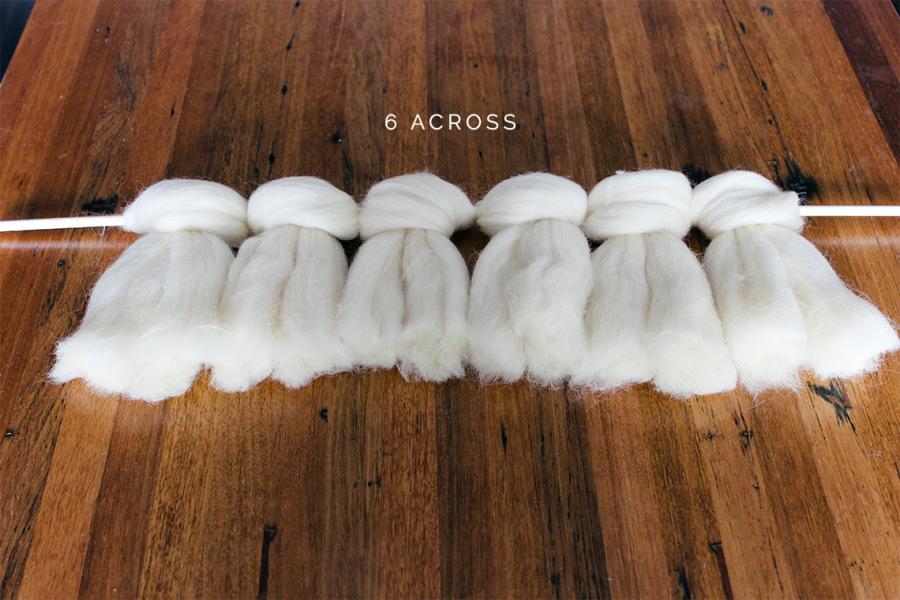
5 | Attach the shortest wool (16 inches) onto the longest dowel rod (24 inches).
Using the same process as step 3, knot the wool until there are 6 across.
6 | Arrange on a flat surface.
Arrange your 3 dowel rods on a flat surface.
First lay down the 24 inch rod. Next, lay the 15 inch rod so that it overlaps. Finally, lap the 10 inch rod so that it also overlaps. It should look like an upside down triangle.
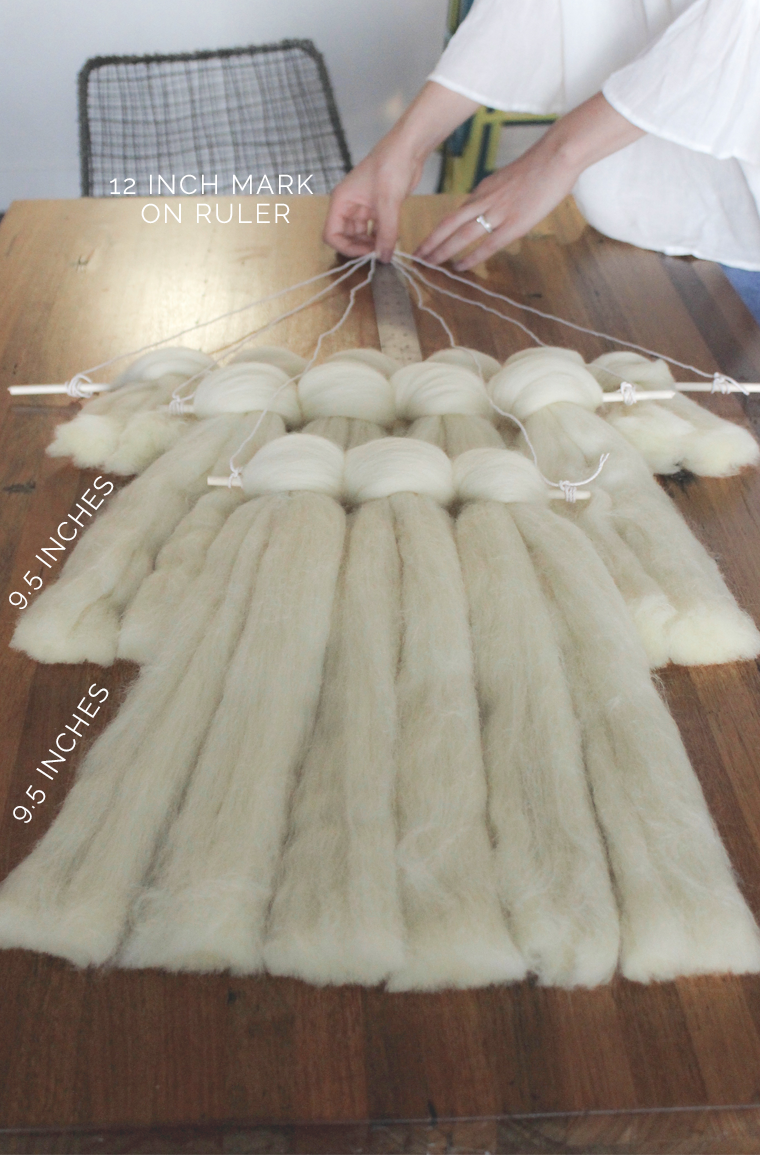
There should be about 9.5 inches from the bottom of one layer of wool to the bottom of the next layer of wool.
7 | Attach twine to ends of dowel rods.
Place a ruler in the middle of your top rod so that it’s sticking out vertically.
Before cutting the twine, tie twine to the left end of the top dowel rod. Pull the twine to the center so that it lines up with the 12 inch mark on the ruler. Now bring it over to the right end of the dowel rod. Cut and tie.
Continue this process with each layer. Using the ruler will ensure that your layers all hang at the correct length.
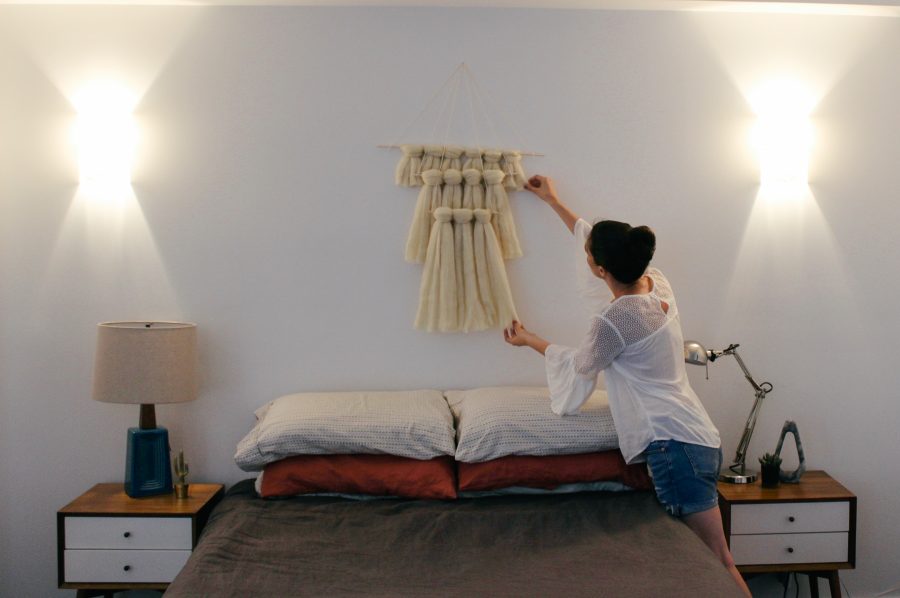
8 | Hang and enjoy!
You’ve basically made 3 separate little wall hangings that all hang together on 1 nail to create a unique piece of artwork.

See all of our DIY posts here! Thanks for reading!